Add my own FX to Groove Agent channels?

Hey guys,

I’m new to Cubase, and I understand how to assign an output to a Groove Agent slot, and then add an effect but inside of Groove Agent I can only see the basic effects, but not my own installed vsts. Is there a way to easily apply my own effects to channels within Groove Agent?

Thanks in advance

It’s been a while since I’ve dug deep into GA, but I think there’s a setting in GA that expands all its internal mixing onto the Cubase mixer, and I do mean ‘everything’. From there you should be able to use your third party plugins.

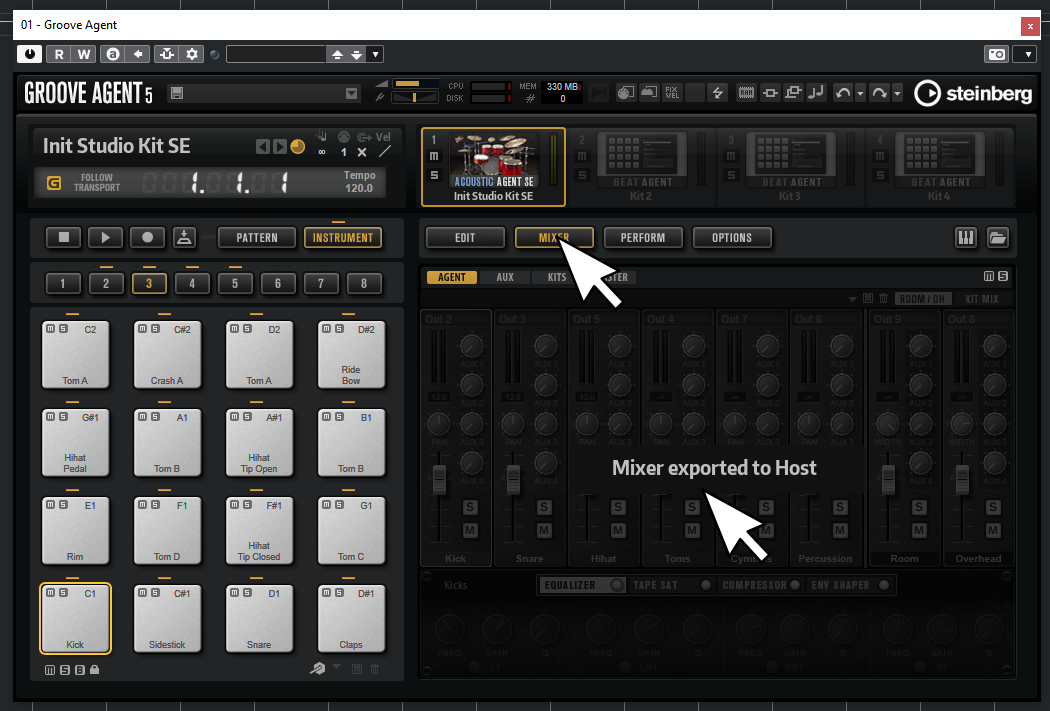
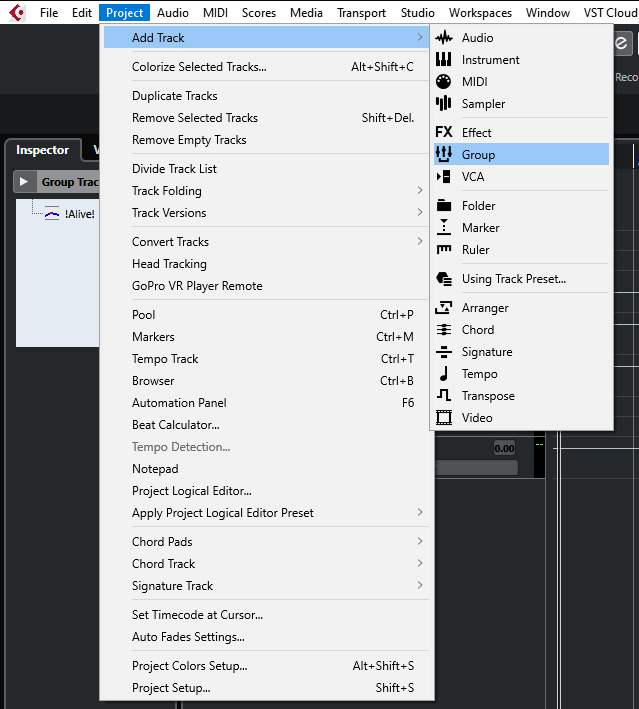
Right click one of the kit slots, and choose ‘export to mixer and fx to cuebase’.

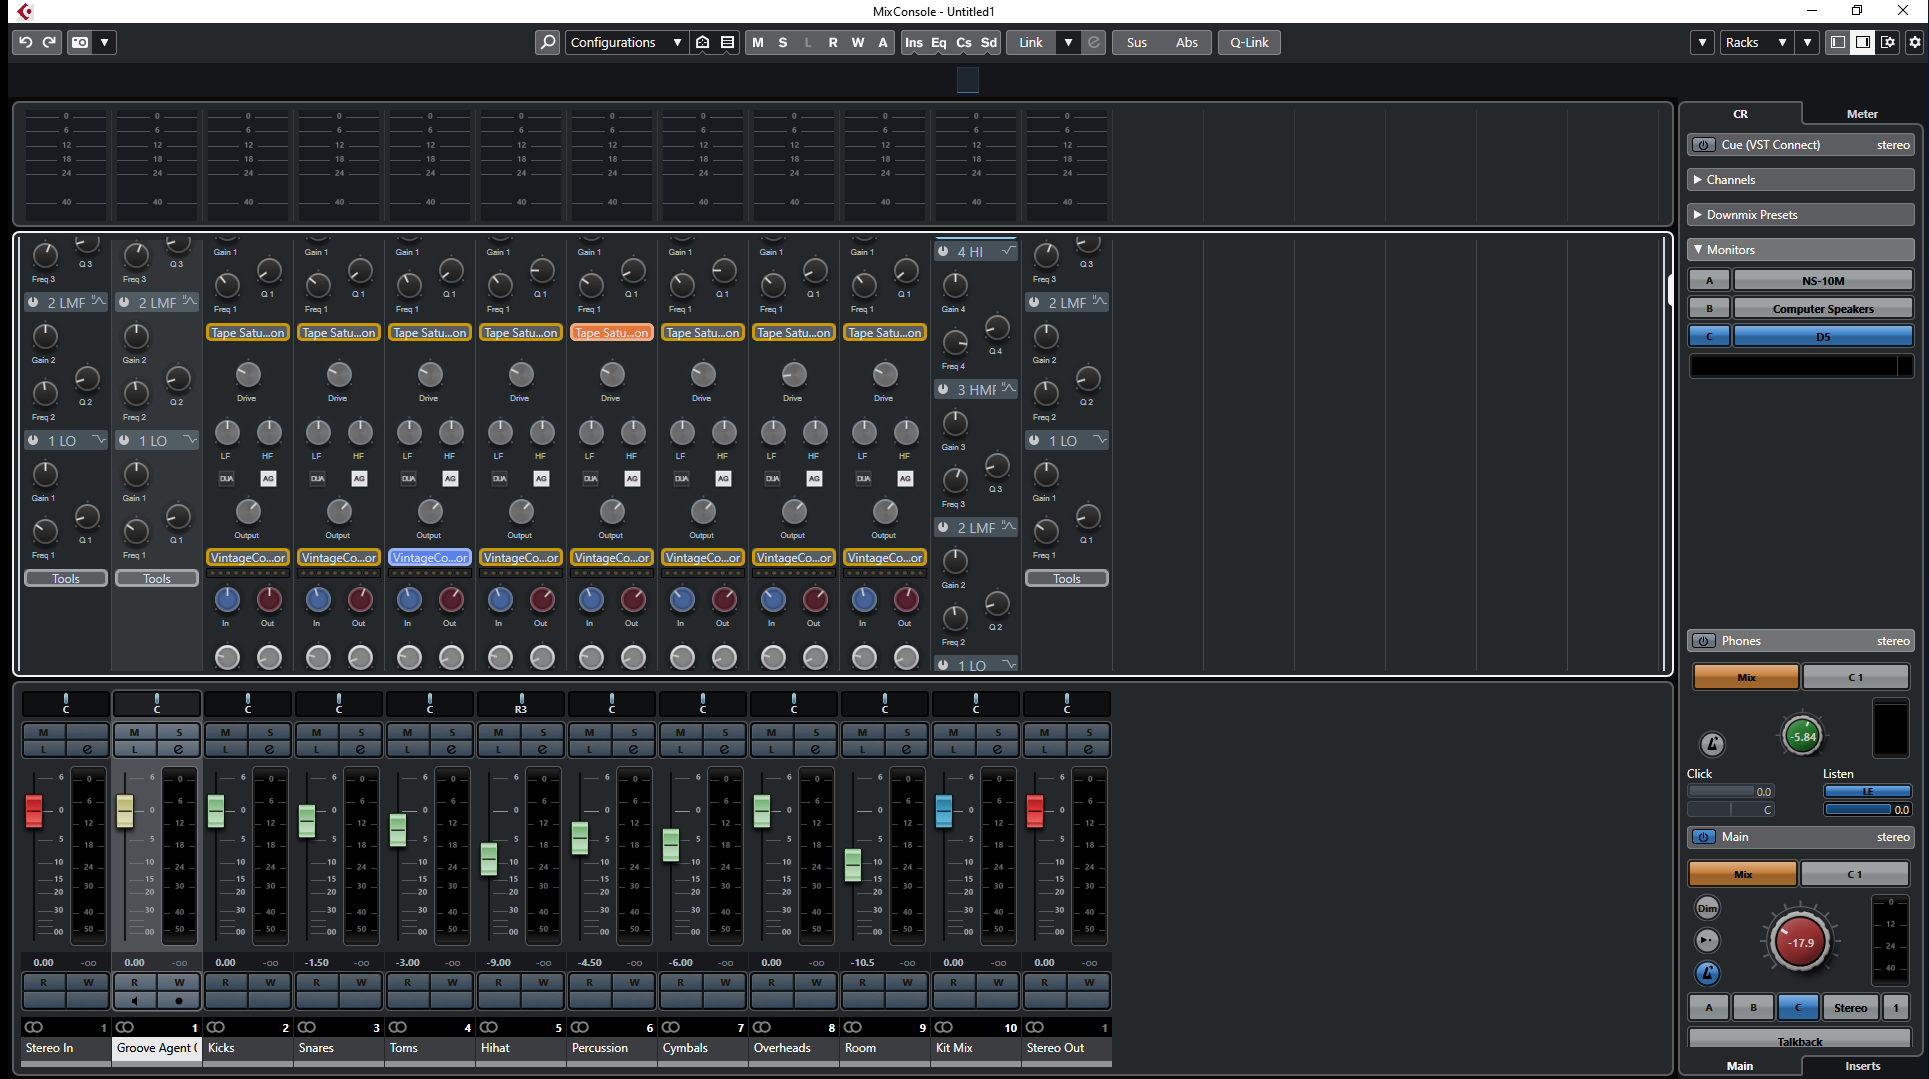
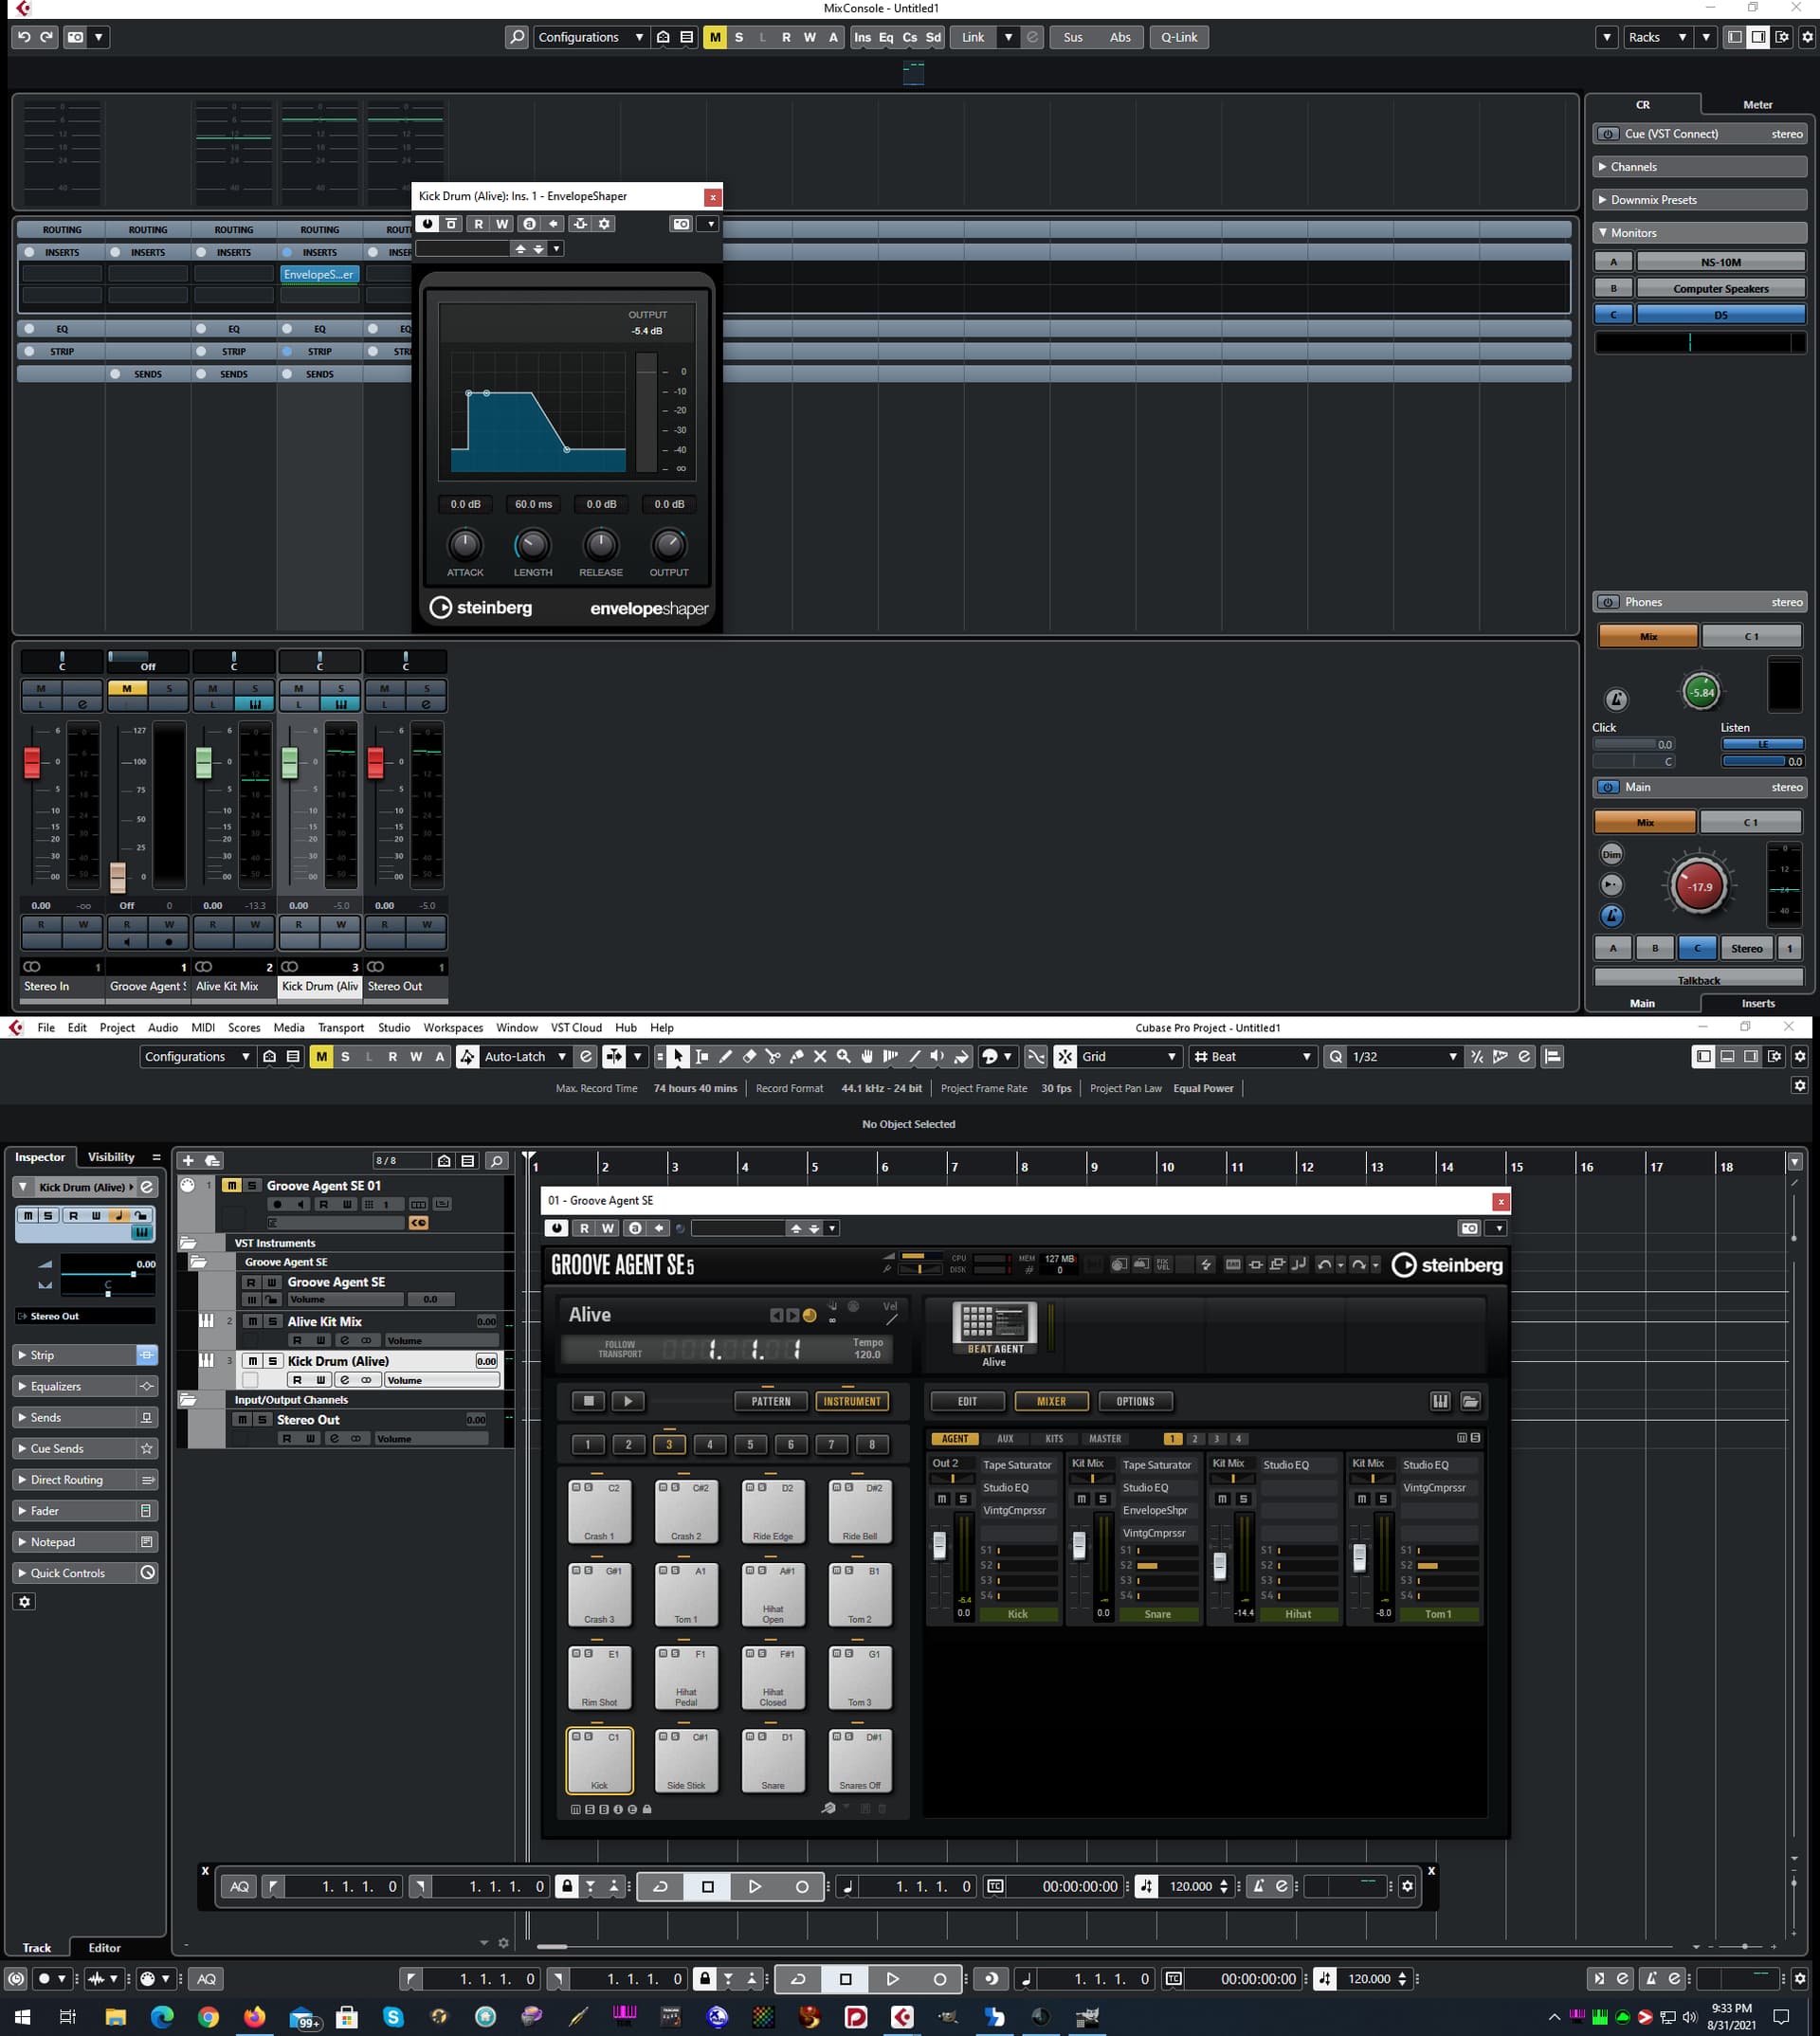
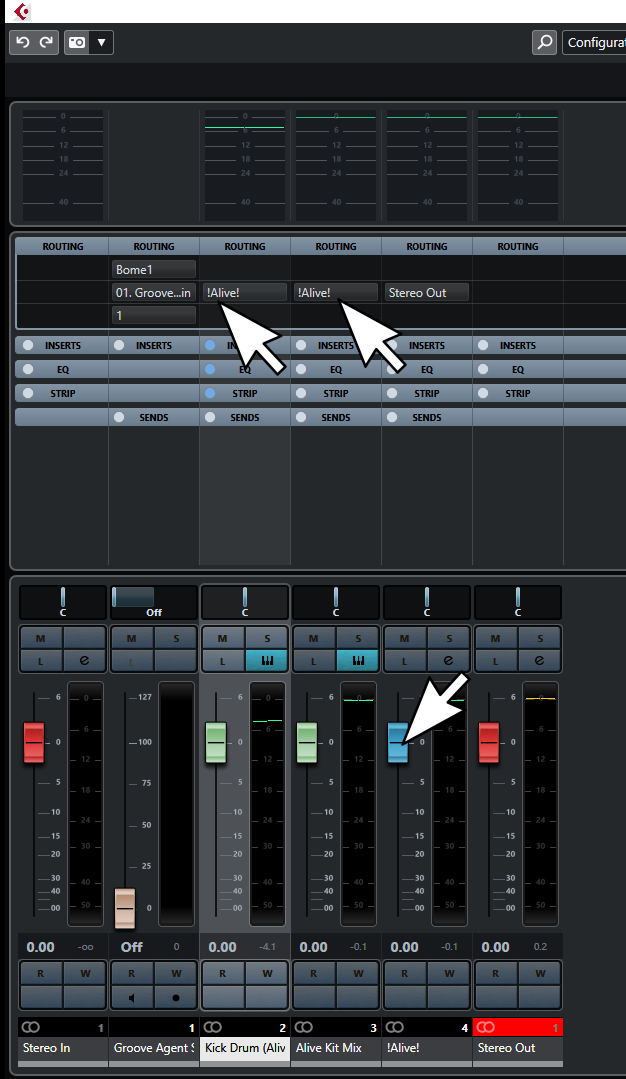
Now notice how a new bus entry shows up in my Project View called “Kit Mix”, and it’s all expanded out in my Cubase Mixer. I’m easily able to drop a 3rd party instance of the Reverence reverb plugin from Waves, as I’ve done here for the Kick drum channel.

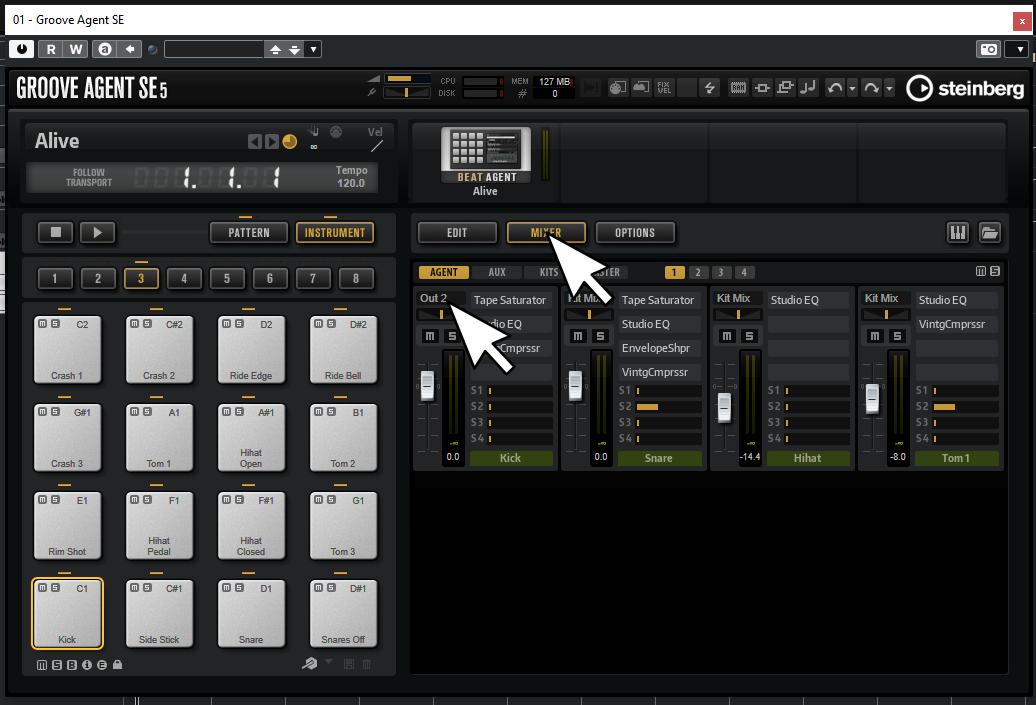
Also take a look at the mixing console strip, and you can see that the internal effects (EQ and compressors) this particular kit used are also present in the export process.

Some kits might have multiple busses routed into yet more busses, etc.
Note, the Mixing panels inside Groove Agent itself are no longer active once it’s been exported.

So…

Back up your project first and try it with care, as last time I stumbled upon it, I didn’t find any easy/obvious way to undo it. It probably exists somewhere, but I haven’t really taken the time to figure out if there’s a way to undo this.

I do know that if all those faders get in your way, you can show/hide them in the left ‘view’ panel of the Mixing console. You can have 3 independent mixing layouts at your fingertips with Cubase as well, so that can help get things under control if a kit throws up scads of new channels.

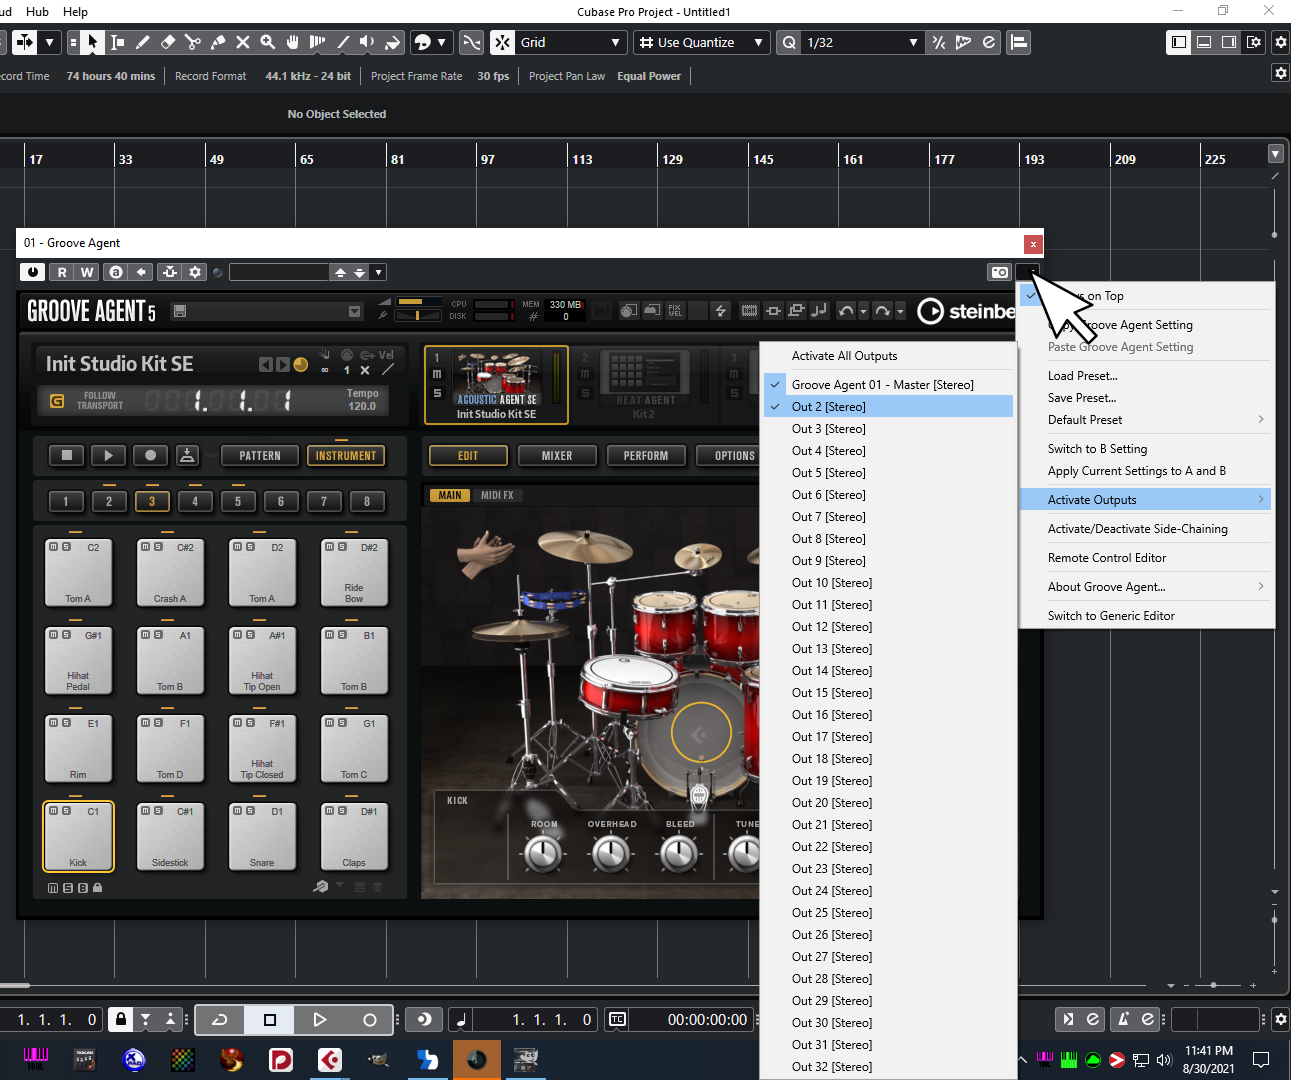
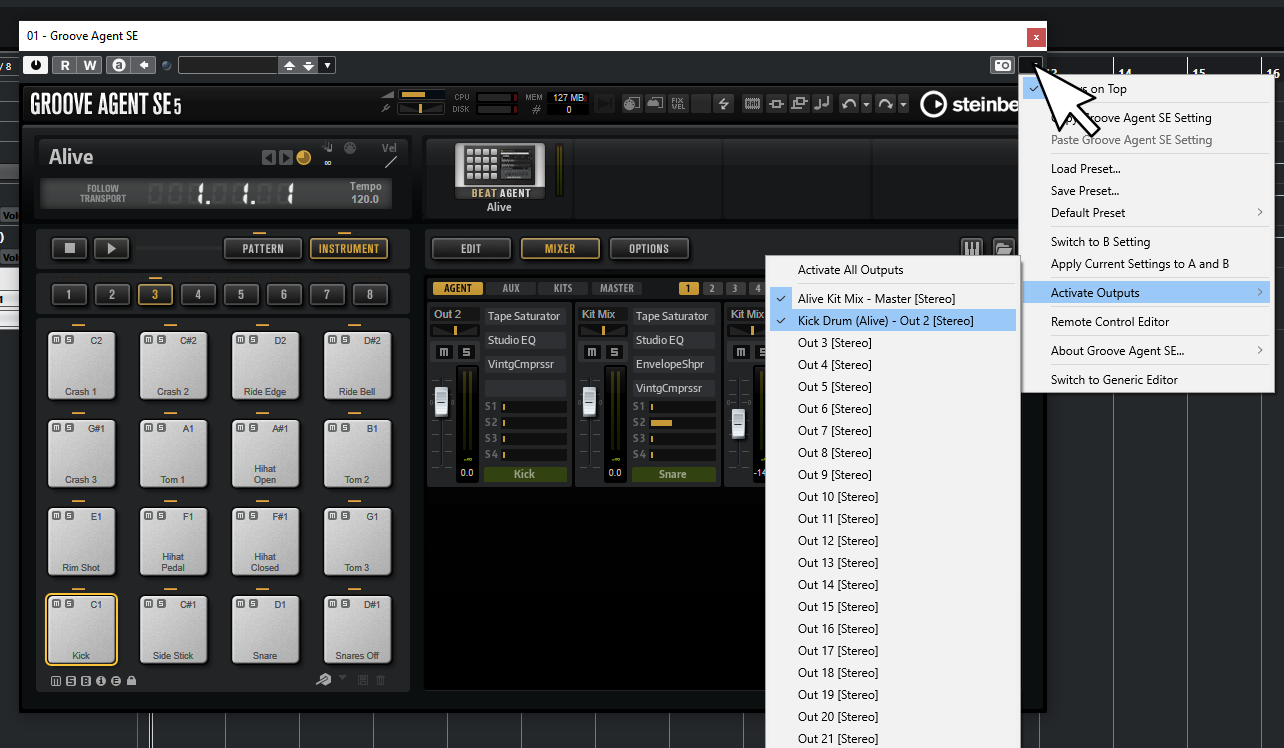
Other methods exist without expanding as we did above. Some agent kits aren’t as flexible in this respect, but many kits included in GA will allow you dig around inside and divert individual mix buses, or individual pads to their own independent outputs. You can also manually add busses to the mixer through the GA UI in 'open or non-agent kits (the ones without the fancy macro page, and instead show waves and settings for those in the edit tab), and send instruments through them.

Right click the top right corner of AG, and activate more outputs.
From there, you can reroute things from inside GA kits, using the GA UI to your new outputs, and process them there.

Oops, I thought this a Groove Agent thread over in the VST/Groove Agent5 section.
Now I see it’s a general Cubase thread.

So…addendum…
My post above is in regard to the full version of Groove Agent 5. Not the SE version that comes with Cubase.

So…

I just double checked with GA5 SE, and it appears to also support exporting the mixer and effects to the Cubase mixer, and you get to it the same as in the full version of GA5.

Hopefully this helps.

Hello Brian

First of all thank you so much for replying with a very detailed explanation. I tried to follow your steps, but immediacy I cannot find the ‘export to mixer and fx to cuebase’ option:

Am I doing something wrong?
I’m using Groove Agent SE 5 in Cubase 11 if it matters

Again thank you very much
Omer

OK, I loaded the same kit you have there, and like you, it doesn’t expand. Perhaps that feature is limited to the ‘agent kits’ that have the pretty macro in the edit tab.

Give it a try with an agent kit such as “Break Me Down” from the Studio SE library. It should work for those kits.

So, with the open kits (by open, I mean tweakable pads/samples, no dancing drum set macro, mixer that can be edited) like “Alive” in the Beat Agent Library, you’ll want to create some new output in GA, and use the mixer tab to reroute the bits you want to a different ‘output’ where you can add your own plugins.

Say you want to process just the kick drum by itself from this Alive kit.

  1. Click the top right corner of your GA instance. Add another set of outputs. They should show up in your project view and on your mixing console right next to the original full Kit Mix. If you like you can rename/color/etc. the channel so it’s easier to pick it out. You could also change the order of the outputs if you wish by dragging them around in your main project view.

In the image below you can see that I’ve already enabled another pair of outputs and renamed it from the default “Out 2” to "Kick Drum (Alive).

  1. Click the MIX tab, find your kick drum channel, and remap it to the output you’ve just created.

Now you can add your plugin effects to the new channel. Here I’ve added a dynamic envelope plugin that’d be a pretty common thing to use on a kick drum.

If you do this to several instruments and want to have an easier way to keep it grouped under a single fader as well, you can always add more “Group” tracks to your Cubase project and route it all through them.

Note that in some cases you might want the effects applied inside GA to come ‘after’ effects you’ve entered in the Cubase inserts instead of ‘before’. In that case you might want to bypass/disable the the chain of effects inside GA and rebuild them in the Cubase mixer inserts/strip.

In some cases you might not find an effect you used in GA in the mixer strip, but there is usually a very close Cubase plugin match for the insert slots. In fact, they often are ‘identical’ in terms of sound and controls, they just might simply have some GUI differences. I.E. Reverbs, filters, etc.

Finally, if you want to send all the channels of this kit into a single bus you can add a “Group” track and route them through it.


Hope this helps.

1 Like

Wow thanks so much for the detailed explanation I will take the time to go through it and learn