I haven’t found this one on the forum or online: I mastered a file which was at 48k 24bit and exported to 44.1 at 16 and that was fine but a little too loud. I need to remaster it. When I load the original audio file again, it comes in at the wrong pitch and speed no matter what sample rate settings I use in Wavelab. The wav audio file itself plays fine outside of Wavelab.
I didn’t save the file when mastering, only rendered the mastered file. I have tried creating new audio file in 44.1 and 48, opening it in 48 and setting to 44.1, opening it, dragging and dropping. Nothing seems to work.
I am new with wavelab and have been going through tutorials from starting to more advanced but nothing covers why this would happen and how to prevent it.
Thanks for the input everyone. I’m using an Antelope Zen Go on a Mac Silicone and yes I was doing the work in the Editor not in Montage.
The Antelope is set to 48k.
But why does it not work properly the second time I use the same file? The file created at 48k, (not saved over from Wavelab), plays at the wrong speed no matter what settings I bring it into Wavelab so it seems to me that because I rendered a mix at 44.1 it changed the file the master I created was based on. To me, that makes the editor section pretty much unusable for mastering and no where in the videos I’ve watched does it say don’t do that.
I am reading the manual now, which unfortunately is really painful process for neurological reasons.
I 'll try saving out a fresh audio file from my mix (done in Logic Pro) and bring it into montage and see if that works.
If I’m making a wrong assumption about something here I don’t mind the correct information - I do want to learn Wavelab as it seems like a great application. But it also seems to have some issues.
You should not set the audio device to be locked to a given sample rate.
WaveLab must decide this sample rate (according to the active file), and the audio device must follow.
I’ll have to see if there’s a way to get the Antelope to do that. I know I can change it really easily in Logic Pro, but getting it to change depending on the project is something I haven’t found
But the bigger question to me is WHY would my original file (mix original mix) change because of Wavelab doing mastering and not saving that file? That is something I definately do NOT want to happen because I want to use the file in different ways depending on final uses.
No, I brought the file which is at 48 into editor, did my mastering processes, and rendered the mastered file to 44.1. At no time did I Resample the the file I was working on.
Interesting. It’s hard to say more without seeing exactly what you’re doing then.
WaveLab will never modify the source file when rendering a new file, but pressing the button I showed in my last post would definitely directly modify the source file so that’s why I asked.
That said, whether I’m mastering a single song, EP, or album, I do all my work in the Audio Montage because it’s a less destructive environment and you can insert plugins in the Clip, Track, or Montage Output sections of the Inspector and these settings are 100% automatically stored and recalled when saving and opening the Audio Montage file, which is something that can’t be said for working on a file in the Audio Editor and loading the plugins in the Master Section.
Also, usually a copy of the source file is made if you do any direct processing of the files within the montage, so you don’t risk overwriting the source file with permanent changes.
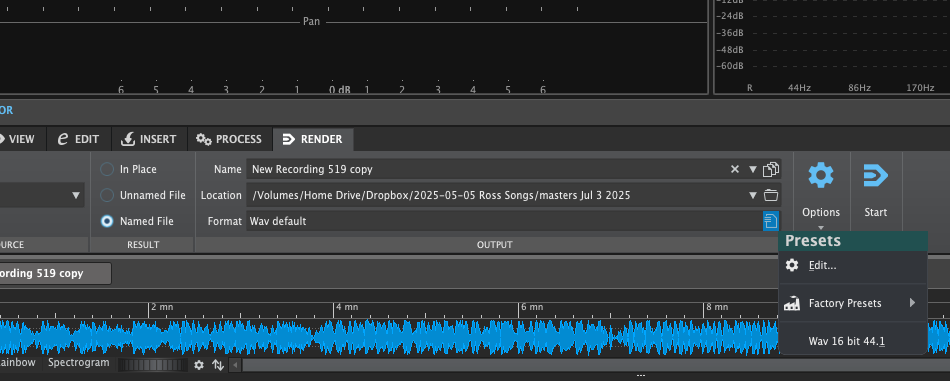
To change the sample rate when rendering, there are two main ways to do it:
Set the desired sample rate in the “Format” area using “Edit Single Format”.
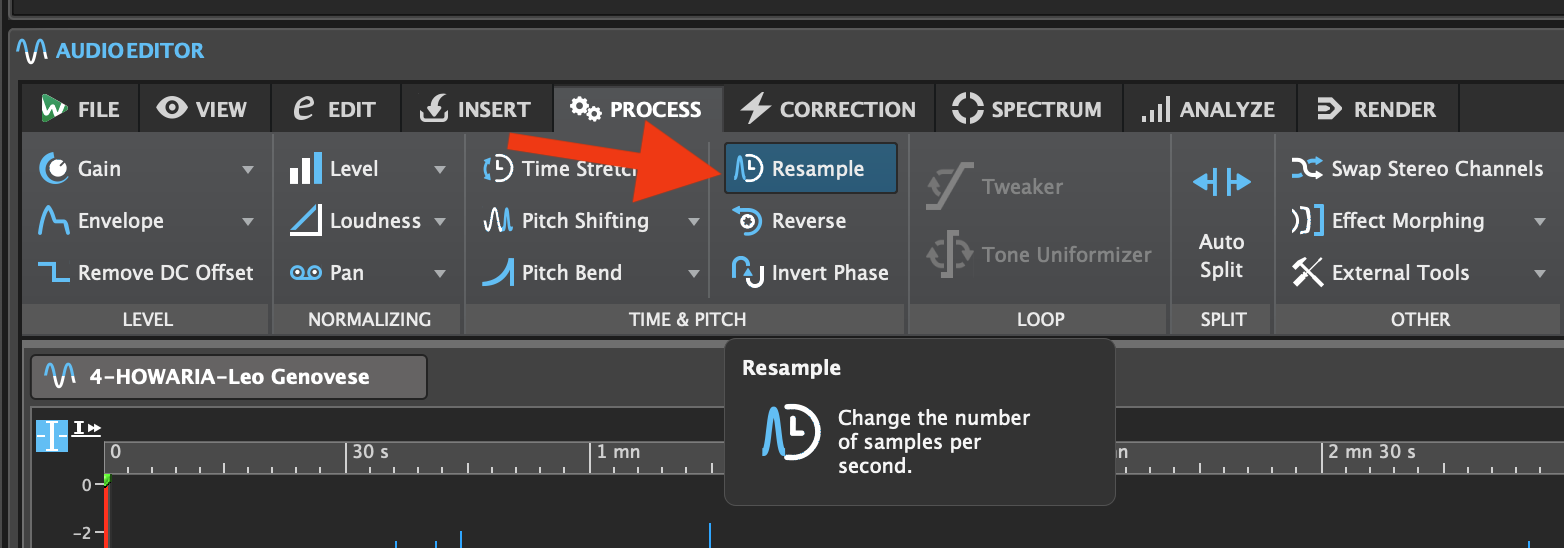
Using the Resampler found in the Master Section to change the sample rate there.
I think I have it figured out. When I rendered the file it went from 48 to 44.1. Wavelab looking at the master was at 44.1. As you suggested Justin - another app, Logic Pro (which I always record projects at 48) seemed to hold it at 44.1 once my Antelope went to 44.1 because of that master.
Retesting without Logic Pro in the background the Antelope resets to the needed rate.
A little unhandy because I want to do test masters and make adjustments as needed as I learn the new software (and because I’m a little anal like that, keeping my options open.)
I’m also used to running Logic Pro all the time at 48 and exporting at 44.1 with no issues. However I do like some of the workflow for mastering with Wavelab better already and am just scratching the surface.
I don’t personally use Logic but I know that it does have a ‘release driver when application is in background’. A colleague uses this to avoid conflict with ProTools. I also understand from their experience (on an almost new very powerful MacBook Pro) that it can be buggy in the current version.