I"m not sure if I’ve missed some improvement here, since there are so many in version 12 (and thank you!).
Previously in WL 11 to render a bit of a montage I would simply use “Selected Audio Range”, highlight the area I wanted to render, and do so. I’d end up with a file containing all the clips on all of the tracks in the montage that were highlighted.
Now, when I highlight an area, only the active clip is rendered. Here’s how I’d set up:
Ah! It took a bit of futzing about to find out how to select the range on one track, *then drag down across the other track *to accomplish the “highlight both tracks” trick. Thanks so much, Justin!
Can’t speak highly enough about this software-and this community.**
This is the very first thing we noticed, and It is going to make life tedious. How do I render/combine more than one track using the audio selection into a single stereo track? Thanks, F
Seems like a terrible change . We just installed 12 and this is a VERY unwelcome change that we noticed immediately. When you have a song with a lot of edits, it’s much safer to select the range in a “dummy” blank track between the markers rather than selecting a range on the actual clips with the possibility of accidentally moving an clip/edit out of place.
You can select a range in your track and then extend it vertically by dragging the bottom of the selection. This method ensures there’s no risk of moving any clips.
I understand you were accustomed to the old behavior, but from a UI standard perspective, it wasn’t very coherent since visually non-selected audio could be rendered.
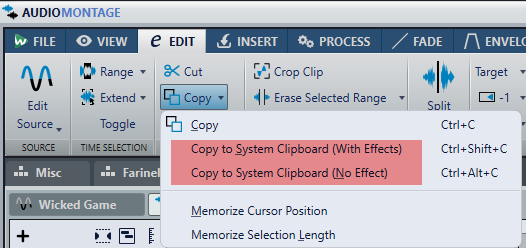
I don’t know what you use the “Render Range” for, but you might want to consider the new Copy to System Clipboard feature, which can significantly boost some workflows. For example, you can drag and drop to your desktop to instantly create a rendered file from the selection.
We use the Render Selected Range in order to make Wav files of individual songs for our clients. We also use to for render Wav files of full sides of an album for cutting vinyl. You just select you 5 or 6 songs to create a contiguous file. We use it for other things all the time too, like when Fred records to tape. We always have multiple track for any single project. Very simple using an empty track.
Let me show you a small demo of two ways to select vertically. In the first method, I double-click between two markers (if there are no markers, the whole clip is selected). Then I drag downwards, and all tracks get selected. Dragging horizontally will also snap-select.
In the second method, I begin with a single track selection, then point and drag it downwards.
Yes, that’s what we will have to do now. We do A LOT of rendering since Fred has “tape” versions of nearly every project where he records to tape. Each of his montages literally have two albums in it. One that’s a standard capture through analogue and another whole version where he hits tape while playing the standard capture back. He then imports the tape version into the montage and edits to increase loudness in the quieter parts and fades to maximize signal to noise. It’s a lot of editing and rendering, and the open track made it less accident prone. Thanks.